
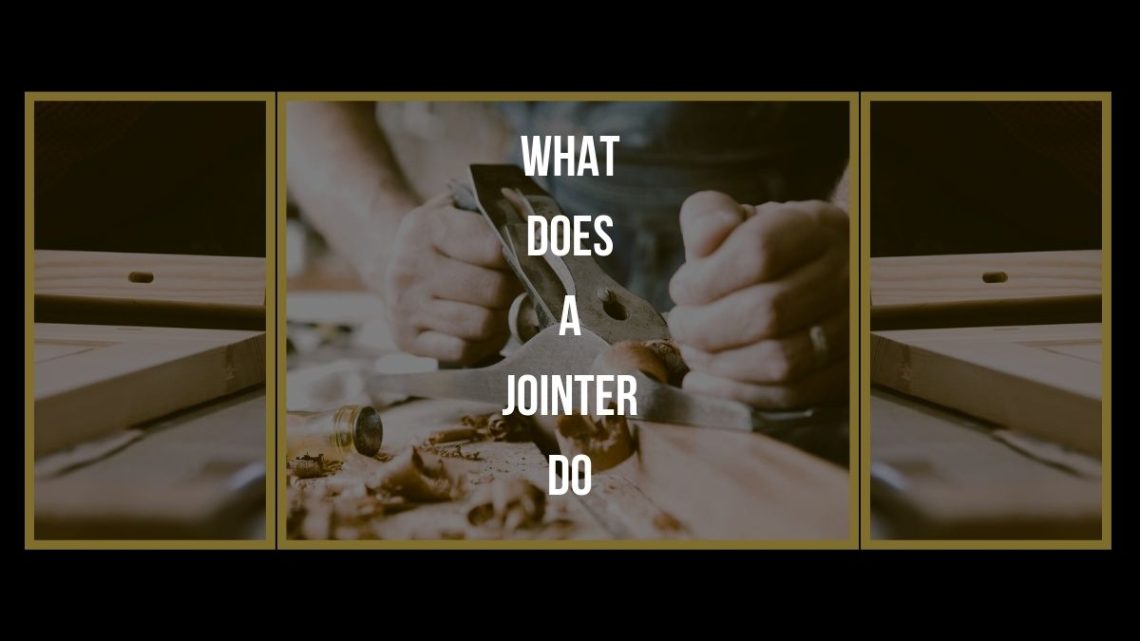
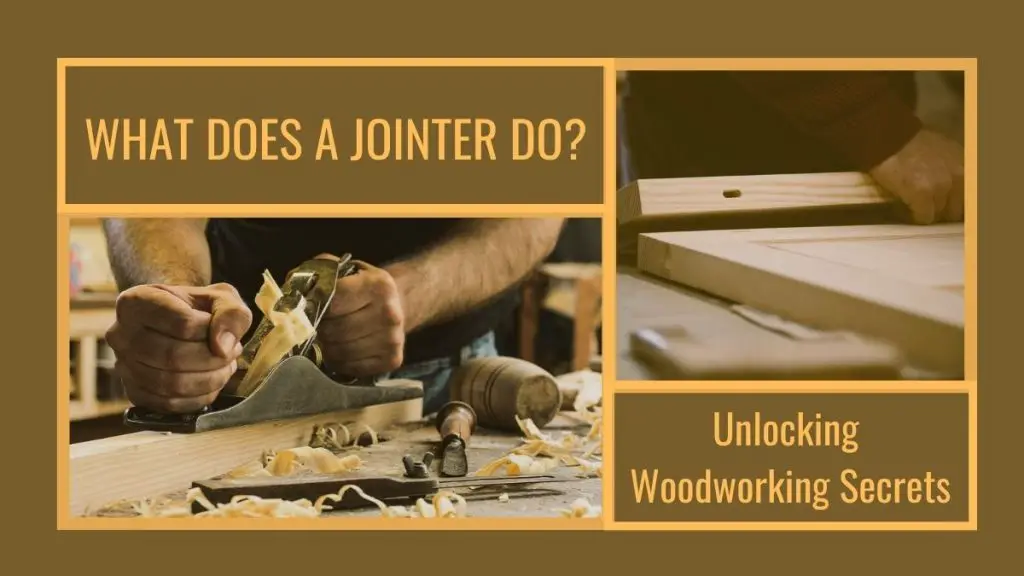
What Does a Jointer Do? – Unlocking Woodworking Secrets
A jointer flattens and squares wood edges and faces. It’s essential for woodworking tasks requiring precise alignment. “What does a jointer do and how does it go on with woodworking tasks?”- Basically, it’s a relevant and important query for woodworkers. Hopefully, we are going to answer this in this journey.
Woodworking enthusiasts and professionals rely on a jointer to refine rough lumber, ensuring their projects rest on a sturdy, even foundation. This power tool is a linchpin in the process of creating flat, straight surfaces on wooden boards, which is indispensable for quality joinery.
By methodically removing warps, twists, and bows from the wood, the jointer helps achieve an impeccable fit and finish. It stands as a critical first step before further sizing and shaping take place, either with a planer or other woodworking tools. Whether constructing furniture or framing a house, starting with flawlessly jointed wood is fundamental for structural integrity and aesthetic appeal.
Related Article: The 9 Best Woodworking Tools of 2025 for Professional Users
You may also read: Best Sander for Refinishing Furniture: Transform Your Furniture

Related Article: Best Drill Presses of Recent Models – A Comprehensive Guide
Related Article: Woodworking Dust Collection System And Its Details To Complete Tasks
Essential Woodworking Equipment: The Jointer
In the realm of woodworking, precision, and smoothness are king. A jointer stands as one of the most valued players in achieving this result. This essential tool serves to flatten and straighten wood. It ensures each piece is perfect before moving on to other equipment. Whether it’s preparing edges for seamless joins or creating flat surfaces, the jointer is a foundational tool for woodworkers.
The Jointer’s Role In A Woodshop
Picture a woodshop bustling with the creation of stunning wooden pieces. In the heart of this scene, the jointer smooths out warps and twists. This heavy-duty tool has a high-speed rotating cutter head. It trims wood to precise measurements. Here’s what makes a jointer invaluable:
- Flattening boards that are rough or bowed.
- Creating perfectly square edges for joining.
- Removing any imperfections for a flawless finish.
Key Differences Between A Jointer And A Planer
Often confused, jointers and planers serve different but complementary roles. A jointer produces flat surfaces and square edges. A planer ensures consistent thickness. See below for a quick comparison:
| Tool | Primary Function | Result |
| Jointer | Flattens one face and squares an edge | Flat surface for accurate joins |
| Planer | Makes opposite face parallel and to desired thickness | Uniform thickness for the entire workpiece |
Remember, while both are crucial, the jointer is your first stop for straightening boards. The planer then takes over to size the wood evenly. Both tools work together to ensure excellent results for any woodworking project.
Anatomy of A Jointer
Woodworkers shape wood with precision. A jointer is a must. It flattens edges and faces. Let’s dive into its anatomy.
Breaking down the parts: From infeed to outfeed
Breaking Down The Parts: From Infeed To Outfeed
The journey of wood flattening starts here. Each part plays a role.
- Infeed Table: Wood enters here.
- Outfeed Table: Smoothed wood exits here.
- Fence: Guides the wood.
The infeed and outfeed tables are side-by-side. Their heights are important. Adjust them for wood thickness.
The cutting mechanics: Blades and adjustments
The Cutting Mechanics: Blades And Adjustments
Blades make the cuts. Adjustments refine them.
| Part | Function | Adjustability |
| Blades | Cut and flatten | Replaceable and adjustable for depth |
| Cutting Depth Control | Sets the cut thickness | Knob or lever for precise control |
Change the cutting depth for more accuracy. Sharp blades are vital. They should be aligned with the outfeed table.
Related Article: 7 Best Bench Vises of 2025 for Professional Users

Mastering The Jointer: Techniques And Tips
Welcome to Mastering the Jointer: Techniques and Tips. Whether a novice or a pro, learning to use a jointer skilfully changes the woodworking game. This powerful tool is all about precision and clean cuts. Your projects hinge on straight edges and flat surfaces. Let’s dive into core techniques to transform rough lumber into beautifully jointed wood pieces.
The Art of Face Jointing
Face jointing is the foundation for flat wood. Here are the steps to success:
- Check for warp: Use a reliable straight edge to identify bows or cups.
- Set the jointer: Depth of cut matters. Go for 1/16 inch or less for control.
- Proper stance: Balance your body for steady wood feeding.
- Even pressure: Start with pressure on the infeed table. Shift it to the outfeed table as you push through.
- Repeat: Multiple passes may be necessary for a perfectly flat surface.
Remember: Sharp knives are crucial. Dull blades can ruin your wood and your day.
Edge Jointing: Ensuring Perfect Alignment
Edge jointing crafts edges that are straight and true. Here’s what you should do:
- Check your fence: It must be square to the table for perfect angles.
- Mark your boards: Identify the face that has been face-jointed.
- Grip and guide: Hold the board firmly against the fence and table.
- Maintain contact: The edge and the fence must stay friends throughout the cut.
- Inspect the edge: Use a straight edge tool after jointing.
- Adjust if needed: Make finer cuts for any necessary tweaks.
Tip: Alternate the sides you joint to avoid taking too much off one side.
Practice makes perfect: Try with scrap wood first to get a feel for the machine.
Safety First: Using A Jointer Without Compromise
Safety always takes priority when using a jointer. The jointer, a fundamental woodworking tool, ensures edges are straight and true. But like any powerful equipment, it poses risks. It’s crucial to follow strict guidelines to prevent accidents. Understanding the correct use of protective gear and best practices can make all the difference. This blog post provides essential tips for using a jointer safely, so you can work with confidence and avoid injury.
Protective Gear 101
Every woodworker should know that protective gear is mandatory. Before switching on the jointer, take these steps:
- Wear safety glasses to shield your eyes from wood chips and debris.
- Ear protection is a must. It keeps the loud noise of the machine from damaging your hearing.
- Dust masks or respirators prevent you from inhaling sawdust.
- Use push sticks or push blocks to keep your fingers safe. These tools help you maintain a safe distance from the blades.
- Anti-vibration gloves can reduce the strain on your hands and improve your grip.
Best Practices To Avoid Accidents
To operate a jointer without accidents, follow these best practices:
- Inspect the machine before using it. Look for any damages or issues.
- Maintain a clean workspace. Remove any objects that are not part of the task at hand.
- Make sure the guard is in place and functioning properly over the cutter head.
- Never joint boards that are too short or too thin. These can easily slip and cause injury.
- Use both hands to operate the jointer. One hand should hold the board down, and the other should guide it along the fence.
- Never reach over the cutter head. It’s a dangerous move that can lead to severe injuries.
- Cut at the correct depth. Do not remove too much material in one pass.
- Lastly, turn the power off immediately if something goes wrong.
Beyond Flattening: Creative Uses For A Jointer
Think a jointer is just for making wood flat? Think again! A jointer shines in its primary role, creating perfectly flat surfaces and edges. But its potential stretches far beyond this basic task. Let’s dive into the world where a jointer can flex its muscles in more ways than one.
From Rabbets To Chamfers: Unconventional Projects
Who said a jointer can only flatten? With the right techniques, your jointer can turn into a multi-purpose woodworking hero.
- Cutting Rabbets: By carefully adjusting the fence and depth, a jointer can produce clean rabbets for joinery.
- Creating Chamfers: Smooth chamfers for table edges or beams are a breeze.
You can add decorative touches or prepare joints without switching machines. Keep your creativity flowing and your jointer humming.
Using A Jointer In Intricate Woodworking
A jointer’s precision is a gift for intricate woodworking. It’s not just about big cuts. Working on smaller, more delicate projects?
- Tapering Legs: A jointer lets you taper table or chair legs with control and finesse.
- Edge Jointing Veneers: For seamless veneer panels, edge jointing is key. Try the jointer for this task.
Unlock the full potential of your jointer. Let these little-known uses inspire your next woodworking project!
To know more about What Does a Jointer Do?>>
Conclusion
Explored throughout this post, a jointer’s role proves essential in woodworking. It’s a tool for creating flat surfaces and perfect edges. With practice, a jointer can elevate any wood project. Take this knowledge, refine your craft, and witness the quality of your work soar.
Happy woodworking!
Related Article: Top 7 Best Hand Planers of 2025 for Professional Users
You may also read: Top 7 Best Benchtop Planers of 2025 for Professional Users


5 Comments
Pingback:
Pingback:
Pingback:
Pingback:
Pingback: